• Spring 2014 • Eclectic Style •
This past Spring I acquired myself a new bedroom, on our first floor. My first bedroom was on the top floor, smaller square footage, smaller closet and no bathroom. The new space was a blank canvas; dry walled and primed. Let's blast to this past spring and overview my bedroom transformation.
The walls were white and the floor is tiled; sparkly grey, large rectangular tiles. I wanted the walls and furnishings to consist of a neutral palette; white. I would add color and texture through decor.
* These images display bedrooms using a white palette. They used a variety of white's too add depth and interest to different aspects of the space. I used these images as initial inspiration though had aspiration to add color in the decor. *


All these images were sourced from: http://designkastle.com/2012/12/white-color-scheme-modern-contemporary-bedroom-designs/
Step 2: What I need/Want for the space
My new room shape represents a cube. The space is large, with plenty of natural light provided by the single long rectangular window. Two of the four walls has a sill to add visual depth to the space. First, I created a list; what I needed in my bedroom and what I wanted.
What I needed:
1. Bed
2. Wardrobe
3. Chest of drawers
4. Side table x 2
5. Floor Lamp
What I wanted:
- Wall decor
- Hanging fixtures
- End of bed bench
- Extra chest of drawers
- Vanity
Step 3: Planning the Space
• Inspiration •
I wanted the focal point of my bedroom to be my bed. The rest of the furnishings would be sensibly placed around it.

http://www.interiorexteriorideas.com/wp-content/uploads/2014/02/window-focal-point.jpg
I should first mention that the wardrobe had an automatic placing, the same wall as my door. This wall has a section that is 5 inches deeper than the rest. That section of the wall was ideal to place a ceiling to floor wardrobe with considerable depth to it. When walking through my bedroom door, the first wall you see is where the bed is placed; the back wall to the right of my wardrobe. The bed frame is placed in the center of the wall and is accompanied by side tables on either side. The side of the bed I favor is where I placed a floor lamp, for optimal reading light.
I hope that any women can agree with me that no storage is enough. The solution to neatly store my ridiculous amount of clothing was to have a wardrobe and two dressers. The largest dresser would be placed on the opposite wall of my bed, centered to the bed. The smaller dresser was placed on the left side of my bed next to the side table.
Step 4: Sourcing the furniture
Now that I have planned the space, it was time for shopping, something that everyone
(or just me?) looks forward to. It was time to do some exploring to find what fit the spot for each individual piece. Below is a list; what furnishings I bought and where I got it:
1. Bed frame: Ikea + DIY Headboard

http://www.houzz.com/photos/256528/HEIMDAL-Bed-frame-modern-beds
2. Large Dresser: Ikea

3. Side Tables: Pier 1

http://www.polyvore.com/pier_imports_hayworth_table_silver/thing?id=66596767
4. Wardrobe: Ikea
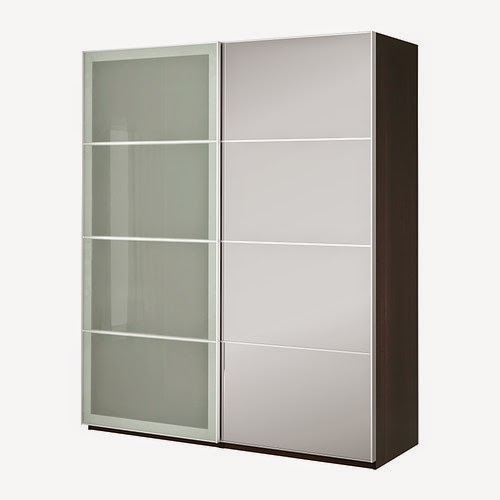 (this style, but all white)
http://www.ikea.com/ca/en/catalog/products/S09029240/
5. Smaller dresser: DIY Project
6. Floor Lamp: Ikea

http://www.ikea.com/ca/en/catalog/products/00190830/
7.White Vanity: InForm (vintage, can't remember designer name)
The decor and final finishings were bought overtime from selected stores such as Anthropology, Kate Spade, Winners, Homesense, Antique Shops, Local Boutiques and Target.
Here are some images of the finished project:


Vintage Dresser- DIY Project

Kate Spade- hanging tissue balls

Large Ikea dresser complemented with a variety of decor pieces.
No comments:
Post a Comment